To help server customers migrate to the cloud, Atlassian has been offering various incentives and one of them is a cloud trial, whereby server clients who have a valid server license can set up a cloud site at no extra cost**.
Atlassian provides information for how to claim a cloud trial, but we have found the process isn’t necessarily straightforward and so we have our own set of instructions. We are sharing as others may find it useful!
Before you get started

You must be either a Technical Contact or a Billing Contact for your product licenses in order to claim your cloud trial.
There are two ways to claim your trial:
- From my.atlassian.com, or
- From the claim your trial page
Starting from my.atlassian.com
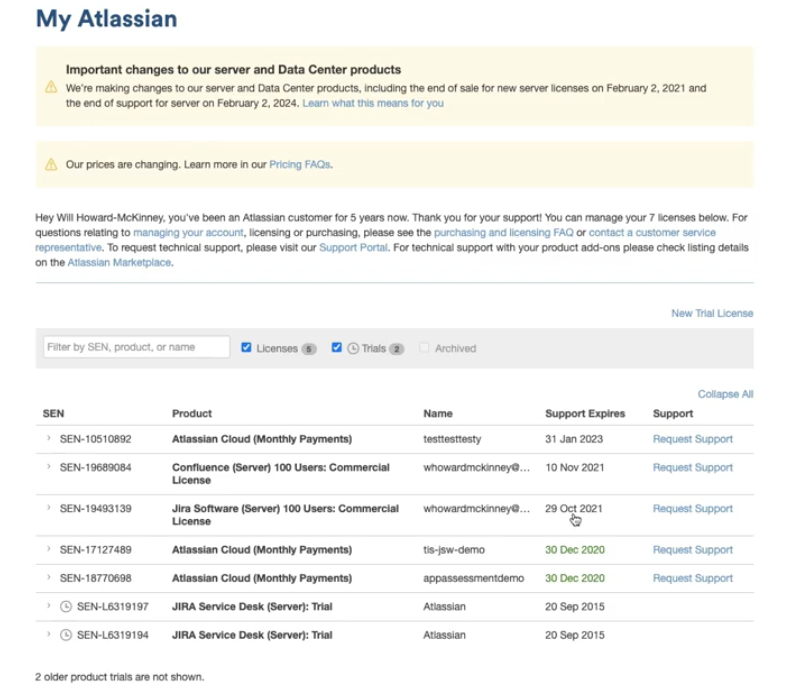
When you navigate to my.atlassian.com and you are a Technical or Billing contact, you will see your organization’s product licenses. From this page you can see when your maintenance period ends – use this information to understand how long your cloud trial will be in place.
- Expand the license link to see more details about that specific product license. From here you will see information about starting your trial.
- Expand the license link to see more details about that specific product license. From here you will see information about starting your trial.
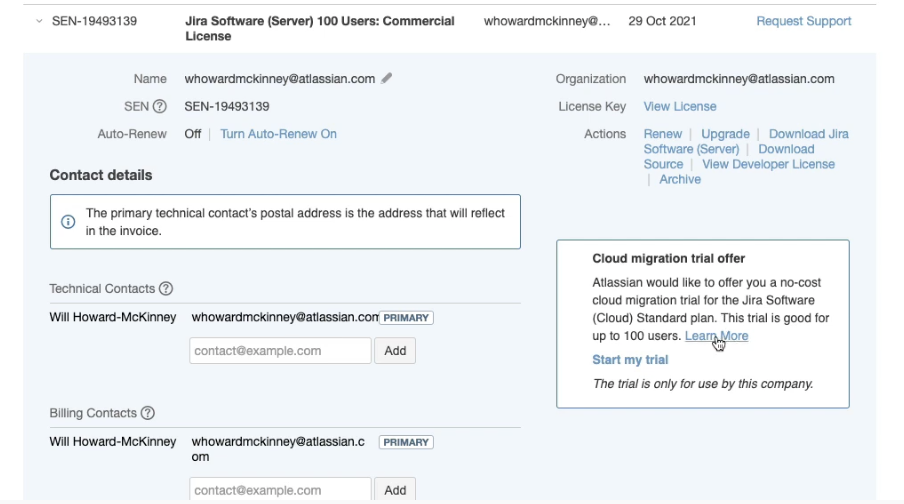
**The duration of the extended licensing fluctuates depending upon the current offerings so we advise clients to contact us for assistance or check Atlassian’s site for the latest information.
- Click the ‘start my trial’ link and this will open a page where you will specify the cloud trial site name.

- Typically you will start a new site, but if you have already started one you could select that from the options list.
You must claim your trial for EACH product, which you can do by repeating the above steps. For each consecutive product where you claim your trial, you will select the site created for the first trial claimed.
For example – you start by expanding your Jira Software license details and you claim your trial. You create your new cloud site. Then you want to claim your Confluence cloud trial site, so you expand the Confluence license details and select the claim your trial. This time when prompted for the site url, select the same URL you used for the Jira cloud trial site.
Starting from Activate Free Trial page
- When you navigate to the claim your trial page it will display a list of your licensed products that are eligible for the cloud trial.
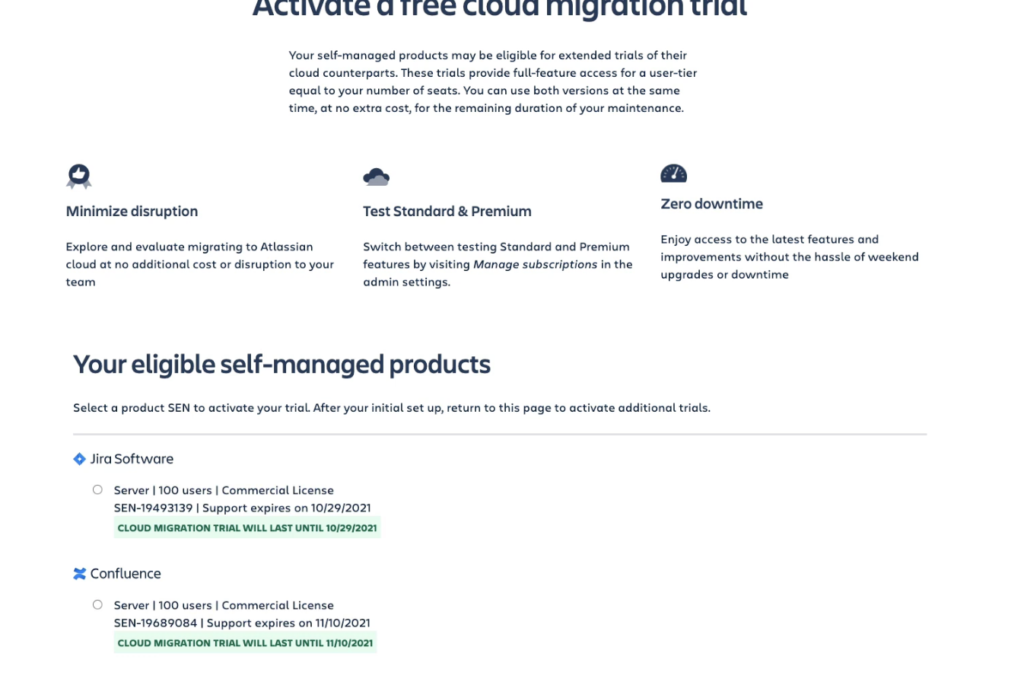
- Select a product and click the Start Trial button.

- This will open the same page described above, prompting you to enter or select the cloud trial site URL.
- To add more products to the cloud trial, return to the claim your trial page. After activating a trial this page will list your active trials.
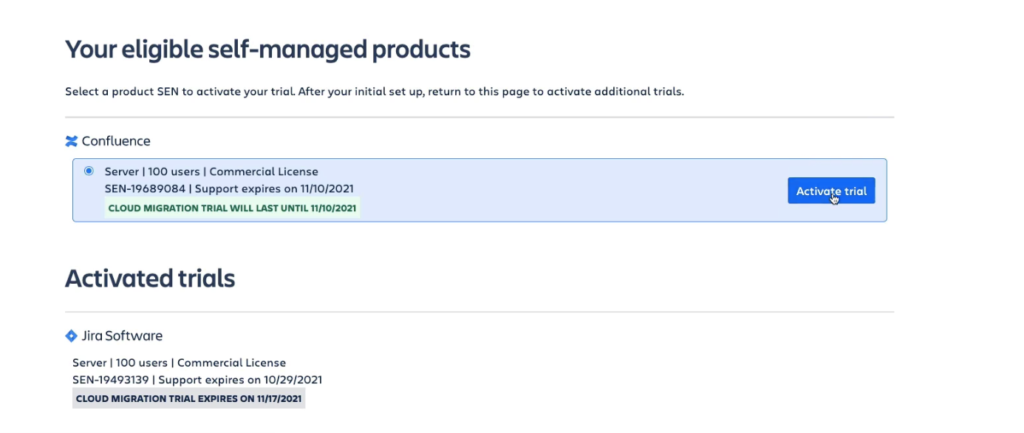
- You can select from the eligible products to add more products to your trial. Repeat the same process as for the first product activated, but for consecutive trials you will select the same cloud site URL.
Watch and Learn
If you learn better by watching then you might find this YouTube video from Atlassian to be helpful. It is 10 minutes long and covers the information above.
What next?
Planning and executing a migration can be complex and is usually more work than a typical Jira administrator can tackle on their own. If it seems daunting and you are feeling overwhelmed then contact us to find out how we can help. From our pre-migration health check to providing advice on how best to manage your server license renewals to leverage your license spending, we can get your journey to the cloud started on the right path.